HP DeskJet printer setup allows you to install the printer, download the correct driver, and connect the device to your computer or wireless network. Most modern DeskJet printers are installed using HP Smart software, which automatically detects the printer and completes the installation process.
This guide explains how to complete HP DeskJet setup, including driver installation, WiFi connection, and adding the printer to Windows or Mac.
Prepare Your HP DeskJet Printer
Before starting the installation process, make sure the printer is ready.
- Remove all packaging materials from the printer.
- Connect the power cable and turn on the printer.
- Install the ink cartridges that came with the printer.
- Load paper into the input tray.
- Wait until the printer finishes its initialization process.
Once the printer is ready, you can begin the setup process.
HP DeskJet Setup Using 123.hp.com
The easiest way to install a DeskJet printer is through the official setup portal.
Steps to follow:
- Open a web browser and visit 123.hp.com.
- Enter your HP DeskJet printer model.
- Download the recommended printer software.
- Run the installer on your computer.
- Follow the instructions to connect the printer.
The installer automatically downloads the correct HP DeskJet printer driver for your system.
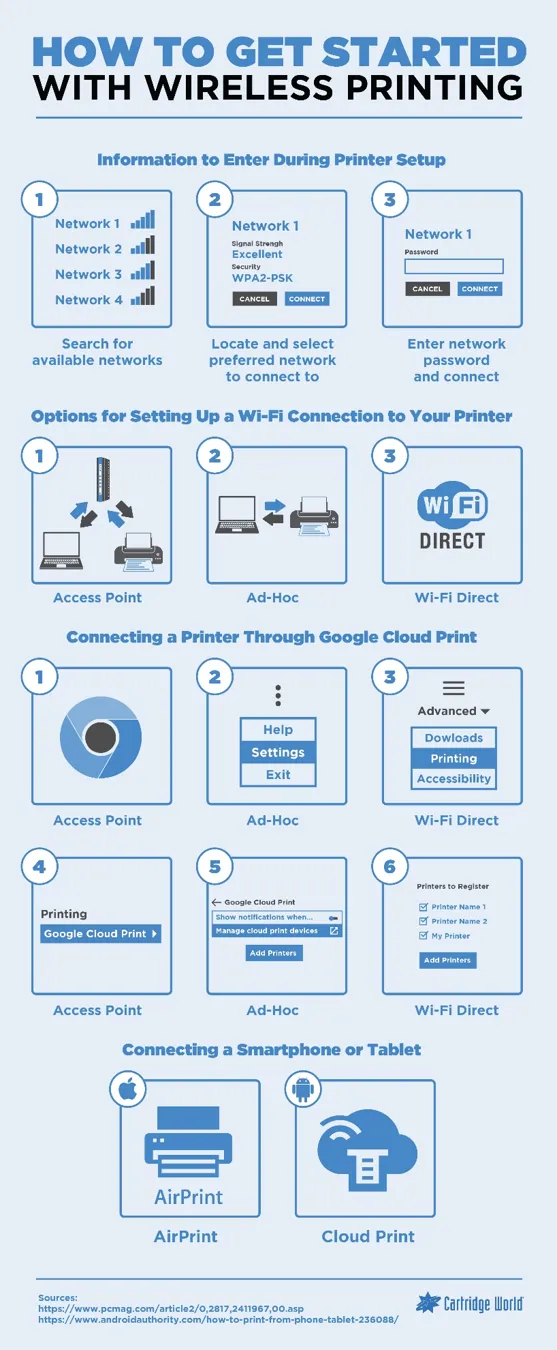
HP DeskJet Wireless Setup (WiFi Connection)
Most HP DeskJet printers support wireless printing.
To connect the printer to WiFi:
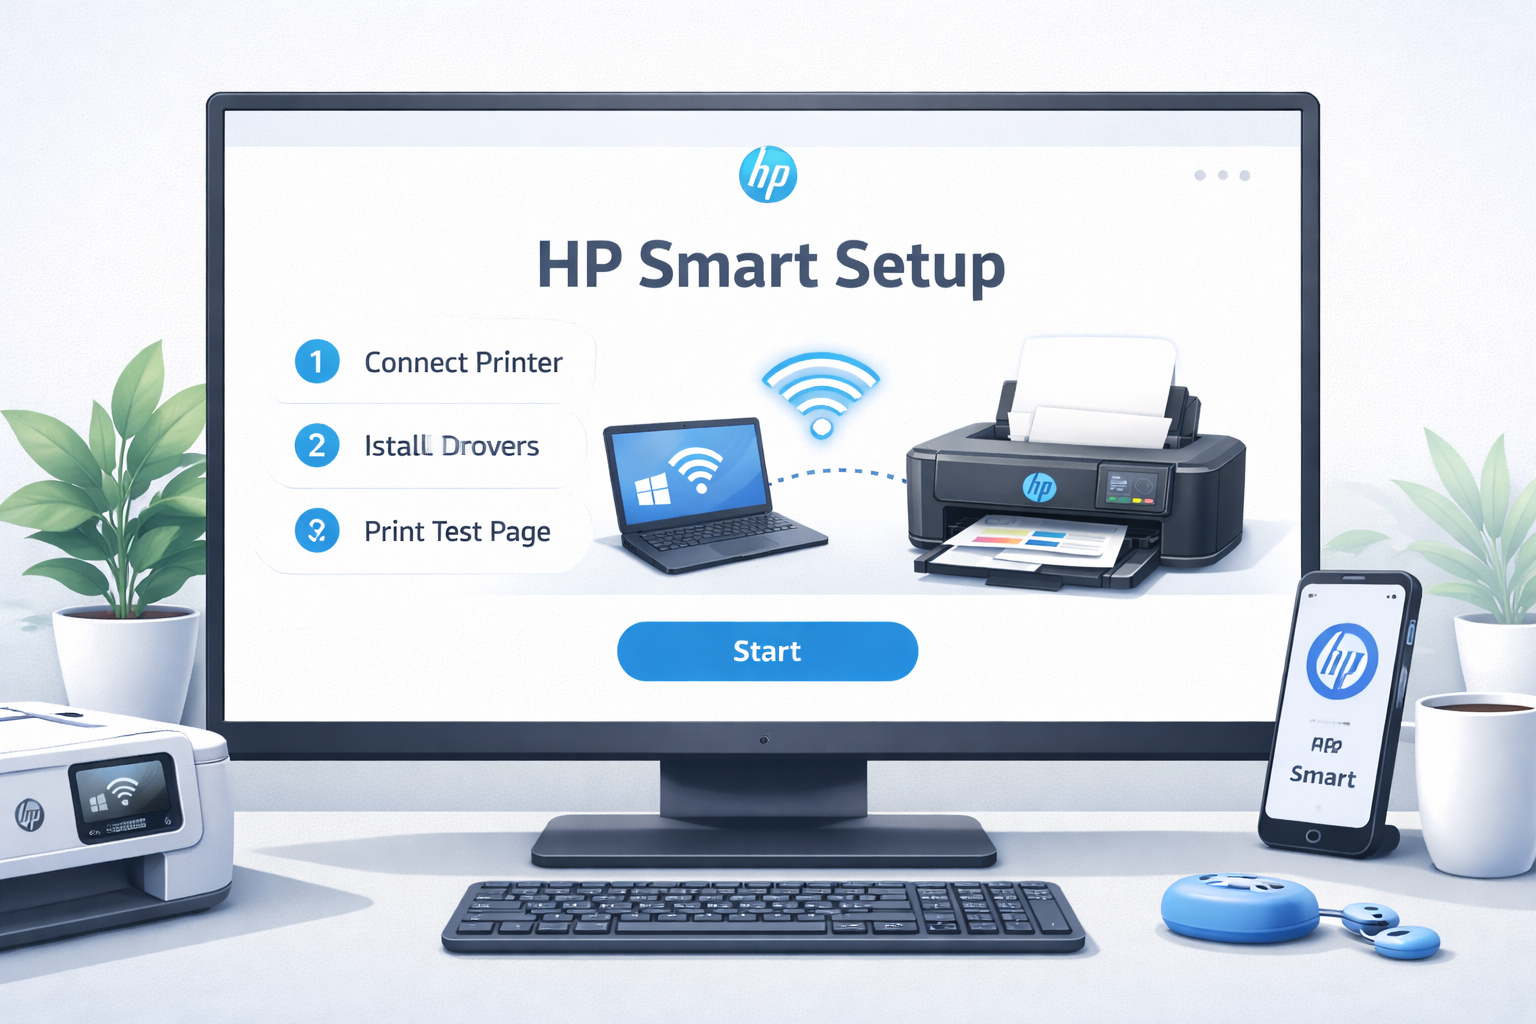
- Turn on the printer and ensure it is in setup mode.
- Open the HP Smart application on your computer.
- Click Add Printer.
- Select your DeskJet printer from the list.
- Enter your WiFi password when prompted.
Once connected, the printer will appear in your computer’s printer list.

Add HP DeskJet Printer to Windows
If Windows does not automatically detect the printer, add it manually.
Steps:
- Open Settings on your computer.
- Select Bluetooth & Devices.
- Click Printers & Scanners.
- Choose Add Printer.
- Select your DeskJet printer from the list.
After the printer is added, print a test page to confirm the installation.
Add HP DeskJet Printer to Mac
To add the printer on macOS:
- Open System Settings.
- Click Printers & Scanners.
- Select Add Printer.
- Choose your DeskJet printer from the list.
- Click Add.
Your Mac will automatically install the required printer driver.
Print a Test Page
Printing a test page ensures that the printer is installed correctly.
- Open Printer Settings.
- Select your DeskJet printer.
- Click Printer Properties.
- Choose Print Test Page.
If the page prints successfully, the setup is complete.
Common HP DeskJet Setup Problems
Sometimes users encounter issues during installation.
Printer Not Detected
Make sure the printer and computer are connected to the same WiFi network. Restart both devices if needed.
HP DeskJet Not Connecting to WiFi
Ensure the wireless signal is stable and the correct WiFi password is entered. Restart router and try again.
Driver Installation Failed
Download the latest driver from HP Support and reinstall.
Need Help With HP DeskJet Setup?
If your printer still isn't working, a technician can help diagnose the issue quickly.
Talk to a Printer ExpertIf you are looking for instructions for a specific printer series, choose your model below to continue the setup process.
Find Your HP Printer Setup Guide
Select your printer series below to find the correct setup instructions, driver downloads, and wireless installation guide.